

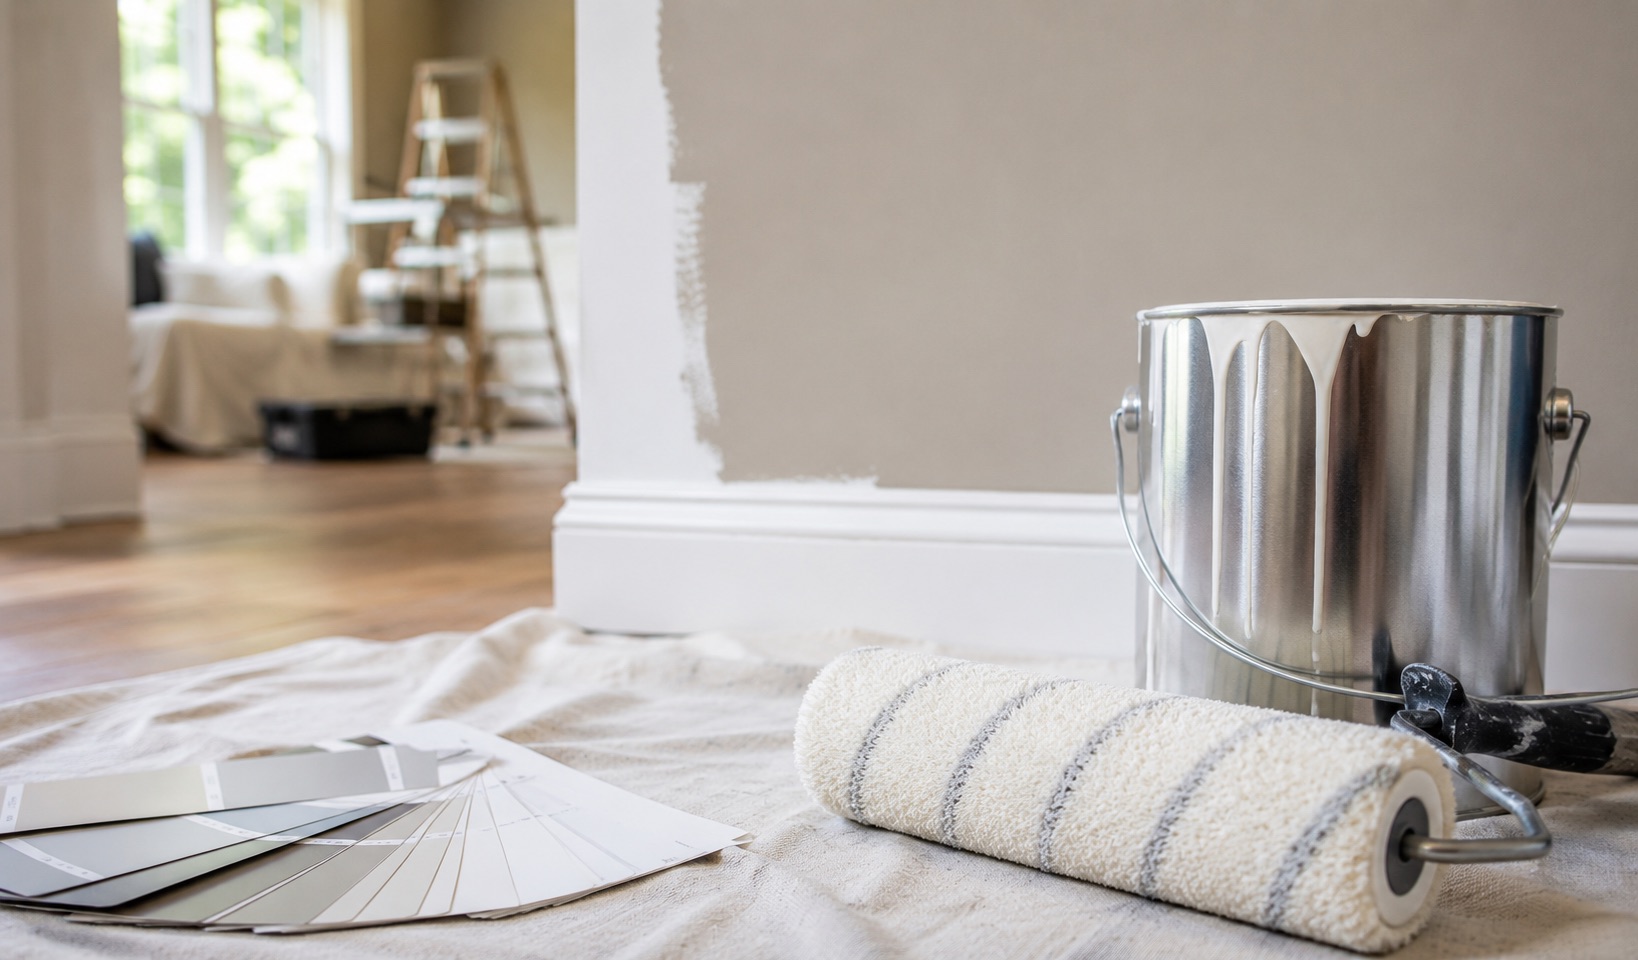
A handprint will not wash off the hallway wall. The first touch-up dries as a visible patch. A few rooms look tired even though the house still feels new.
Calling the paint “builder-grade” may be reasonable. It is not yet a diagnosis.
The term does not identify a single formula, performance level, or product family. It is informal shorthand for a finish selected as part of a construction package, often with different priorities from a homeowner-planned repaint. The original project may have prioritized a uniform appearance, efficient application, a neutral handoff, and control of the construction budget. None of those priorities tells you what is now on the wall or why it is behaving badly.
That distinction matters because the wrong diagnosis creates the wrong project. A washable wall may need nothing more than careful cleaning. A failed touch-up may call for one full wall, not the entire house. Peeling around a bathroom or recurring stains may point to a moisture or adhesion problem that new paint alone will not solve.
The useful question is not whether your home has builder-grade paint. It is what the existing finish is doing, what caused the problem, and how much of the house actually needs to change.
“Builder-Grade” Is a Project Description, Not a Standard Paint Tier
Paint manufacturers do not share a universal builder-grade classification. A product name, purchase channel, or contractor label cannot be translated reliably into a simple good-better-best table.
That is why generic rankings cause trouble. Product lines have different formulations, sheens, intended uses, and technical requirements. Manufacturers also change products over time. Even a line commonly associated with professional or production work may be marketed for durability and touch-up performance. For example, Sherwin-Williams describes the current ProMar 200 Zero VOC line as a durable, professional-quality coating with outstanding touch-up. A contractor cannot fairly reduce that product, or any other named line, to a price label without the exact product and specification.
In a new home, “builder-grade” is better understood as a decision context. The coating was one component of a much larger build. The selection may have been practical for the construction schedule and original finish package even if it is not the finish you would choose for children, pets, frequent cleaning, stronger color, or years of daily contact.
This is not an accusation against the builder. It is a reminder that the original buyer, the original painter, and the current homeowner may be solving different problems.
Start With the Paint Record, Not the Wear Pattern
If the house is new enough that the builder, superintendent, or original painter can still answer questions, request the finish schedule. A useful record identifies more than a brand.
Ask for:
- The manufacturer and exact product line
- The color name and color code
- The sheen used on walls, ceilings, trim, and doors
- The primer or first-coat specification, when available
- The rooms or surfaces where a different product was used
- A labeled container or written record for future repairs
An unmarked leftover can is not enough. A familiar color name does not confirm the same product or sheen. If the record is missing, note that uncertainty instead of filling it with an assumption.
The same discipline applies before closing on a new build. Ask the builder to put the exact products, colors, and sheens in writing and explain the touch-up or warranty process for visible finish concerns. This is not a substitute for the construction agreement or builder warranty. It is a practical way to preserve information the next painter will otherwise have to reconstruct.
The Symptoms Do Not Identify the Paint by Themselves
Homeowners usually meet the existing coating through a problem. The problem is real, but several causes can produce the same appearance.
| What you notice | What it may mean | What to check before repainting |
|---|---|---|
| Scuffs or handprints will not clean off | The finish may have limited cleanability, the mark may have penetrated the film, or the cleaning method may be too aggressive | Product and sheen, location of the wear, and whether gentle cleaning changes the mark |
| A touch-up remains visible | Color, sheen, surface texture, application tool, film thickness, porosity, or the age of the original finish may differ | Original product record, labeled leftover paint, wall texture, repaired areas, and viewing angle |
| One wall looks flatter or shinier | Uneven porosity, patching, application differences, moisture during drying, or an inconsistent film may have changed the sheen | Whether the change follows a repair, roller path, wet area, or entire elevation |
| Paint peels, blisters, or releases from drywall | Moisture, contamination, inadequate preparation, or loss of adhesion may be involved | Source of moisture, depth of the failure, condition beneath the film, and whether the cause is still active |
| Dark spots return in a bath or laundry room | Surface contamination, condensation, ventilation, or an unresolved moisture condition may be contributing | Ventilation, plumbing or exterior moisture, recurrence after cleaning, and the affected substrate |
| Trim darkens where hands make contact | Normal contact wear, soil, cleaning damage, or a coating unsuited to that use may be involved | Whether the film is intact, whether cleaning removes the mark, and which doors or casings receive the most use |
Touch-up problems are a good example of why the label alone is inadequate. Benjamin Moore’s touch-up guidance calls for matching color, sheen, and surface texture, ideally with the same type of applicator. Sherwin-Williams likewise lists porous surfaces, uneven film thickness, insufficient film build, and application conditions among the possible causes of uneven gloss.
A visible patch therefore does not prove that the original paint was cheap. It proves that the repaired area and the surrounding finish are not reading as one surface.
Separate Wear From a Surface Failure
Most unattractive walls are not failing. They are marked, worn, uneven, or no longer suited to the way the room is used. The coating remains attached, and the decision is mainly about appearance, cleanability, and the value of repainting.
Peeling and blistering belong in a different category. If the film is lifting, determine why before covering it. Sherwin-Williams identifies moisture and inadequate surface preparation among the possible causes of blistering and recommends correcting excess moisture before repainting when the failure reaches the substrate.
This changes the order of work. The moisture source, damaged drywall, contamination, or adhesion problem comes first. Preparation and coating selection follow the corrected condition. A more expensive finish coat cannot repair an active leak or make loose paint sound.
The distinction also protects the homeowner from overscoping. A few scuffed flat walls do not justify treating every room as a coating failure. One peeling bath ceiling does not prove that the same condition exists throughout the house.
Why a Practical New-Construction Finish May Feel Impractical Later
A new-construction painting package has to function inside a larger delivery schedule. Large areas need a consistent appearance. Colors often remain neutral. Other trades may still be moving through the house. Repairs and final corrections have to be completed before handoff.
The homeowner inherits a different operating environment. Hallways receive repeated contact. A breakfast area gets wiped more often than a spare bedroom. Children’s rooms collect marks. Bathrooms and laundry spaces place more demand on ventilation and moisture management. Stronger colors make some touch-ups harder to hide. Furniture, art, and changing daylight reveal variations that were less obvious in an empty house.
The original finish can be acceptable for the builder’s project and still be a poor fit for the household that arrives afterward. That is not a contradiction. It is the difference between completing a house and living in it.
It also explains why replacing every surface with the most expensive available product is not automatically the right response. Performance needs vary by room, substrate, sheen, traffic, cleaning habits, and appearance expectations. A low-contact guest room does not have to be specified like a busy stair hall.
Choose the Smallest Repaint That Solves the Actual Problem
There are three practical outcomes after the existing finish has been identified and inspected.
| Decision | When it makes sense | What the project should resolve |
| Leave it in place | The film is sound, marks are limited, and the current appearance is acceptable | Preserve the product record, clean cautiously, and monitor any questionable area |
| Repaint selected walls or rooms | Wear is concentrated in high-contact spaces, a touch-up will not blend, or certain rooms need a different sheen or color | Create a deliberate stopping point at full walls, rooms, or connected sightlines |
| Plan a broader interior repaint | Wear is widespread, colors or sheens are inconsistent, multiple repairs are visible, or the owner wants a coordinated finish throughout the home | Build one surface map, preparation plan, product schedule, and room sequence |
Selective repainting is often the rational middle choice. A family may need the entry, stair hall, kitchen, and main living space repainted while leaving bedrooms that still look good. Another homeowner may care most about a continuous color through an open floor plan, making a broader scope more coherent than isolated repairs.
Sightlines matter. A technically successful repair can still feel incomplete if a newly painted wall stops beside several connected walls with a different sheen or texture. The answer is not always the whole house, but it should be a boundary that looks intentional.
Plans also change the recommendation. If the owner expects to remodel a kitchen, add built-ins, or complete drywall work soon, painting the affected area twice is waste. If the finish is intact and the marks are local, delaying a whole-home repaint can be the better decision.
What AllBright Inspects Before Recommending a Product
AllBright Pro Painting does not need to call a wall builder-grade to write a useful repaint plan. We need to understand the wall.
During an interior estimate, we look at:
- Which surfaces are painted and where the proposed scope should stop
- Whether the existing film is sound, peeling, stained, glossy, patched, or contaminated
- Whether a moisture or adhesion concern needs attention before coating
- The available product, color, and sheen records
- How the rooms are used and how often the surfaces are touched or cleaned
- Repairs that require sanding, sealing, spot priming, or a different preparation step
- Connected walls and sightlines that affect where selective work can end cleanly
- The owner’s color, sheen, schedule, and disruption priorities
The resulting specification is project-specific. AllBright’s published interior product range includes Benjamin Moore Aura and Sherwin-Williams Emerald for walls, but a brand name is not the proposal. The estimate still needs to identify the surfaces, preparation, products, and responsibility for the result. That surface-by-surface specification is also the basis of our interior house painting service.
That work is performed by AllBright’s W-2 crews rather than subcontractors. A project manager remains the homeowner’s contact through the final walkthrough, and CompanyCam provides timestamped progress documentation. Those operating choices do not diagnose the coating. They make the approved diagnosis and scope easier to carry from the estimate into the finished rooms.
If the inspection shows that the current paint is intact and the problem is confined to a small area, we will say so. A full repaint should solve a full-repaint problem, not merely provide the largest possible answer.
Build the Repaint Around the Home You Actually Use
The phrase “builder-grade paint” is useful only until the inspection begins. After that, exact conditions matter more than the label.
Find the product record if it exists. Separate cleanability and appearance concerns from moisture or adhesion failures. Decide where a repaint can stop without leaving an accidental patchwork. Then select products and preparation for the rooms, surfaces, and household that will use them.
AllBright has completed more than 2,100 residential and commercial projects across Nashville and Middle Tennessee since 2015. For new-construction homes in Franklin, Brentwood, Nolensville, Nashville, and surrounding areas, our job is to turn the current finish into a defensible scope, whether that means a few rooms or a coordinated interior repaint.
Call 615-987-8011 or schedule a free interior painting estimate. If you have the builder’s paint schedule, labeled cans, repair records, or photos of recurring problem areas, bring them to the walkthrough. We will use what can be verified, inspect what cannot, and recommend the smallest project that produces a coherent result.