

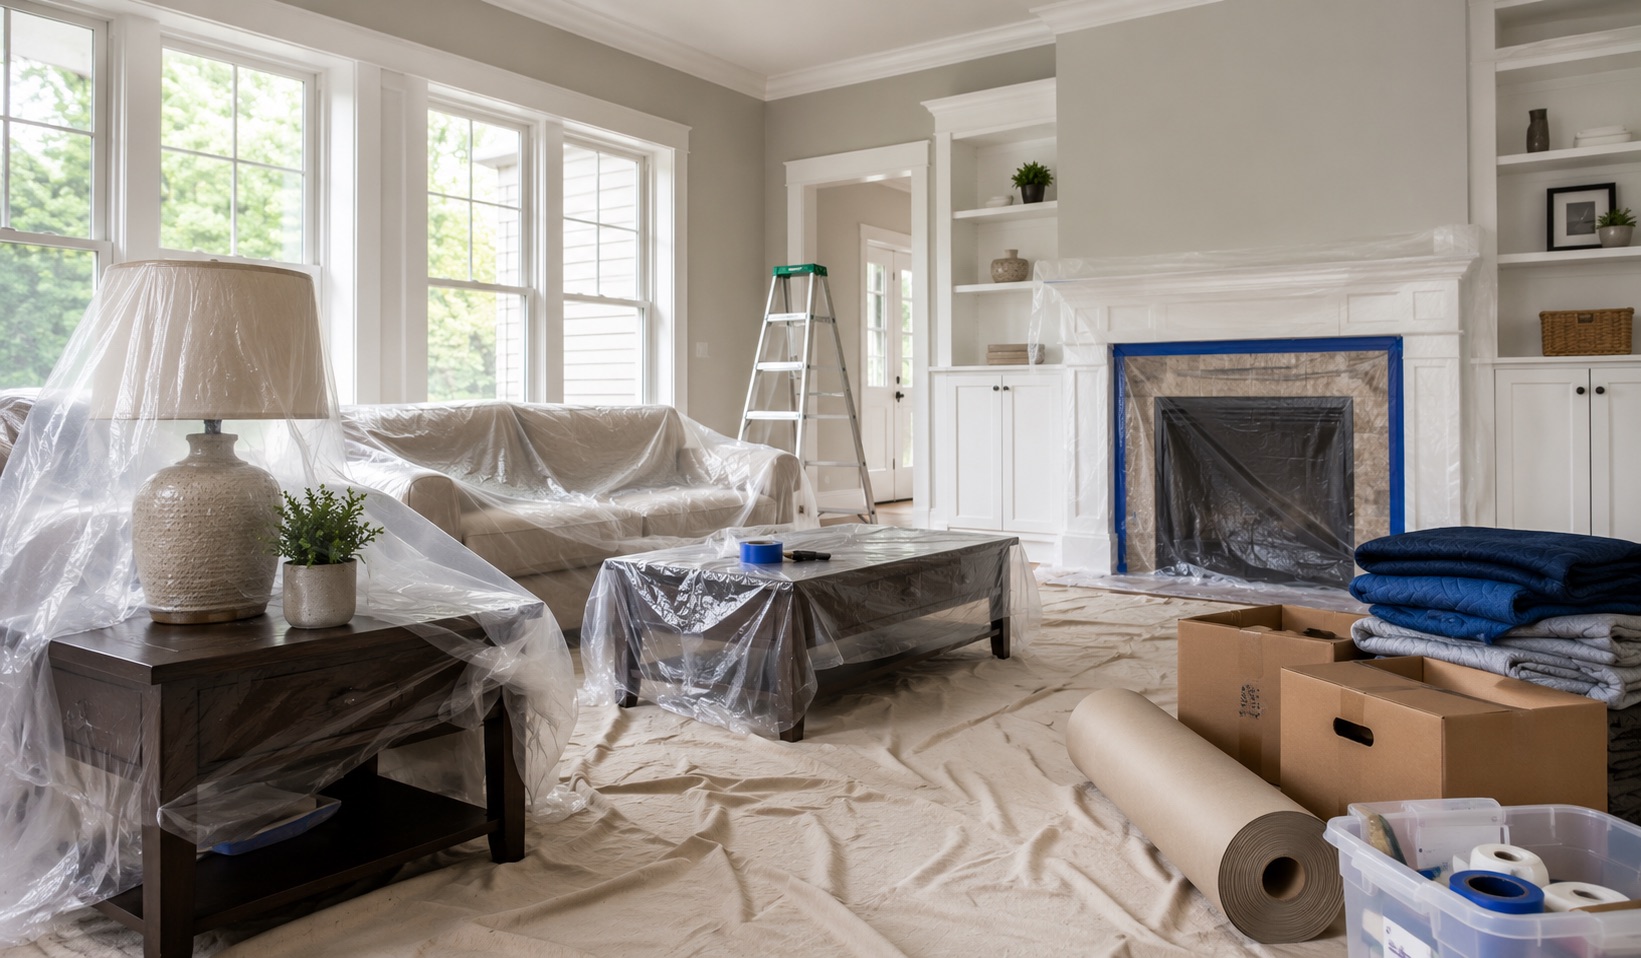
The fastest way to complicate painting week is to spend the night before doing the contractor’s prep badly.
A homeowner may patch holes the crew planned to repair or tape trim that still needs inspection. Heavy furniture gets shifted without a destination. Every loose item lands in the room scheduled first. Everyone worked. Nothing became more ready.
Useful preparation has a narrower purpose. Clear the belongings only you should handle. Make the work areas reachable. Decide how people and pets will stay out of the crew’s path. Leave surface preparation and installed protection to AllBright when they are included in the project scope.
This guide covers occupied-home interior projects and ends when the crew begins work. If your question is how the household functions after painting starts, read Living in Your House During Interior Painting: Day-by-Day Reality. Drying, curing, and returning rooms to normal use belong to the aftercare plan, not the week-before checklist.
Begin With the Included Rooms and Surfaces
Preparation becomes guesswork when the homeowner remembers “paint the bedroom” and the proposal distinguishes walls, ceiling, trim, doors, closet, and repairs.
Start with the written scope. Walk through each included room and identify the exact surfaces the crew needs to reach. A dresser can remain against a wall if that wall is excluded. The same dresser becomes an obstacle when the baseboard, wall, and outlet behind it are included. A full closet may not matter for bedroom walls, but it matters immediately when the closet interior is part of the project.
Flag changes before moving the house around. New water stains, drywall damage, added rooms, a different color decision, or work by another trade can alter the preparation plan. Reporting the change gives the contractor time to inspect it and determine whether the original scope, products, sequence, or schedule still works.
Do not patch, sand, caulk, prime, remove hardware, or tape surfaces unless your project instructions assign that task to you. AllBright’s interior painting process includes the surface preparation identified during the initial visit. Unplanned homeowner repairs can conceal a condition the crew needs to see or create another repair where none was necessary.
Use the Week to Reduce Decisions, Not Just Clutter
The work is easier when spread across several short sessions. Use the order below as a starting point, then follow the project-specific instructions from your AllBright contact.
| Timing | Homeowner task | Decision completed |
|---|---|---|
| Seven days before | Read the listed rooms, surfaces, exclusions, colors, and start information | Everyone is preparing for the same project |
| Six days before | Report new damage, access concerns, or requested changes | Questions reach the project team before arrival |
| Five days before | Remove art, mirrors, removable shelves, and decor from included walls | Wall access is clear and fragile pieces are under the owner’s control |
| Four days before | Clear furniture tops, counters, open shelving, and only the closets or cabinets included in the scope | The crew can protect or work on the intended surfaces |
| Three days before | Relocate small furniture, breakables, valuables, medications, and sensitive records | Personal property is secured outside the work zone |
| Two days before | Finalize the pet, child, remote-work, and room-access plan | The household knows which spaces must remain separate from the crew |
| One day before | Clear entry routes, confirm parking and secure access, and complete a room-by-room check | The arrival-day walkthrough can focus on the work |
Do not treat the order as a promise that every project starts on Monday or that every home requires every task. A furnished Franklin home, an unoccupied Nashville property, and a single-room repaint create different preparation needs. The sequence is useful because it exposes decisions early enough to solve them.
Know What You Handle and What AllBright Handles
The homeowner should control personal property. The painting company should control the protection and surface preparation attached to its work. Large furniture sits between those responsibilities and must be assigned before the start date.
| Homeowner handles | AllBright handles | Confirm for this project |
| Art, photographs, mirrors, and removable decor | Installed floor protection in work and access areas | Who detaches difficult, heavy, or high wall-mounted pieces |
| Jewelry, heirlooms, collections, and sentimental items | Covering furniture that remains in the room | Which large furniture moves and where it will be staged |
| Computers, small electronics, loose cables, and removable accessories | Masking or removing hardware as required by the scoped work | Treatment of wall-mounted televisions and connected equipment |
| Medications, financial papers, work files, and other private materials | Patching, sanding, caulking, and priming included in the scope | Repairs or conditions discovered after approval |
| Contents on exposed counters, shelves, vanities, and furniture tops | Maintaining the protected work zone and completing daily cleanup | Whether closets, cabinets, built-ins, or storage areas are included |
AllBright publishes its home-protection commitments: floors receive drop cloths and wall-to-wall paper protection, furniture receives plastic sheeting, and hardware is masked. The crew also maintains the workspace and cleans at the end of each workday.
Those commitments do not make every piece of personal property the crew’s responsibility. A plastic cover protects a sofa from jobsite dust and paint. It is not the right system for an heirloom, a loose electronic device, or a confidential file left on the sofa.
Clear Each Room According to the Surface Being Painted
Empty rooms are convenient, but complete evacuation is rarely the goal. Clear access to the included surfaces and remove the items that should not be handled by a crew.
Living rooms and bedrooms
Take down removable wall decor and clear the tops of furniture. Move lamps, plants, loose electronics, small tables, and breakables out of the work area. Confirm the plan for beds, sectionals, bookcases, and other large pieces instead of dragging them into the center automatically. The center of the room may be the crew’s staging or protection area.
Kitchens and bathrooms
Remove items from exposed counters, open shelves, and vanity tops. Put away towels, toiletries, food, small appliances, and anything used for daily care. Do not empty enclosed cabinets merely because the room is being painted. Empty them when cabinet interiors or cabinet refinishing instructions require access.
Cabinet painting follows a different preparation and production sequence from a wall repaint. If cabinets are included, use the cabinet-specific instructions supplied for that project rather than expanding this general checklist.
Offices and work areas
Secure paper files and remove portable electronics. Photograph cable connections before disconnecting equipment if that will make reassembly easier. Tell the project team about equipment that cannot be unplugged or moved so the working boundary can be planned around it.
Closets, built-ins, and storage areas
Check whether interiors, exteriors, shelves, or only surrounding walls are included. Emptying a closet that is excluded wastes the homeowner’s time. Leaving it full when every shelf is included transfers the same problem to the crew on arrival morning.
Protect Privacy and Access as Carefully as Furniture
Most preparation lists focus on breakables and forget that a crew also needs a controlled way into and through the property.
Before the start date:
- Clear the route from the agreed entrance to every work area
- Identify doors, gates, elevators, loading rules, or parking limits that affect equipment access
- Decide how keys or temporary access codes will be provided
- Explain the alarm procedure and any areas that must remain locked
- Remove private documents, medications, weapons, and valuables from accessible work zones
- Identify cameras or security devices that could be disconnected when hardware or walls are prepared
- Tell the project team about medical equipment or mobility needs that change a pathway
Use a temporary entry code when the security system supports one. Access information should reach the designated project contact through the agreed method, not sit on a note attached to the front door. Once the project ends, remove temporary access and recover any physical key as planned.
This is also the time to identify a clean, excluded area for items removed from the work rooms. A garage, spare room, or other designated space can work. The important part is that the storage location does not block the crew’s entrance, equipment route, or next scheduled room.
Make the Pet and Household Plan Before the Door Opens
Pets do not understand masking lines, open doors, wet coatings, or why strangers are carrying ladders through the hallway. The crew should not become responsible for containing them.
We once started a project with a dog loose in the house and learned why that cannot be the plan. One lesson was enough.
Choose a secure room outside the work and access zones, arrange off-site care, or use another plan appropriate for the animal. Tell the project team where the pet will be and which doors must remain closed. Bowls, litter boxes, beds, leashes, and medication should be accessible without crossing the active work area.
Young children also need a boundary they can understand and an adult responsible for maintaining it. Before the project starts, determine which entrance the crew will use and where children can be without entering the equipment path or prepared rooms.
Remote work, meals, sleep arrangements, ventilation, and daily room availability become active once the crew begins. The day-by-day living-during-painting guide owns that separate planning job. For this week-before stage, the task is simply to make those household constraints visible before the room sequence is finalized.
If the House Will Not Be Ready, Say It Early
Work emergencies, sick children, travel delays, and moving problems do not respect a painting schedule. Hiding the problem until the crew arrives does not restore the lost preparation time.
Contact the project manager as soon as you know a homeowner task will remain incomplete. Depending on the project, the team may be able to reassign the task, change the first work area, adjust the start, or leave the affected surface outside the immediate sequence. None of those outcomes should be assumed.
If AllBright can take over a homeowner-assigned task, any added labor is priced and documented before it begins. It does not appear later as unexplained invoice time. The company’s published policy treats the approved estimate as the price. When the homeowner requests a scope change, the team discusses the cost adjustment before additional work begins.
That conversation is operational, not punitive. The crew needs to know whether the scheduled first room is available and whether the agreed work still fits the allotted plan. Earlier notice creates more usable options.
Keep the Pre-Start Check and Arrival Walkthrough Distinct
Two different contacts can occur before painting begins, and giving them the same name creates needless confusion.
The pre-start readiness check happens before the crew arrives, using the communication method arranged for the project. It resolves preparation, access, household constraints, and any reported scope questions. It does not require the homeowner to stage another in-home consultation unless the project team says the change needs inspection.
The arrival-day walkthrough happens at the property with the homeowner or designated decision-maker and the AllBright project manager or crew lead. Use it to confirm:
- The listed rooms and surfaces
- The first work area and access route
- Items that remain in each room and how they will be protected
- Doors, gates, alarms, pets, and excluded spaces
- Any visible condition that changed after the estimate
- How the project team will communicate during the work
New work does not become part of the project through a casual hallway conversation. If the walkthrough reveals a requested addition or a condition that changes the existing scope, it is evaluated and documented before that additional work begins.
Once those points are settled, the homeowner preparation phase is over. AllBright’s W-2 crew takes responsibility for the protection, surface preparation, and painting assigned in the project. A project manager remains the point of contact through the final walkthrough, with timestamped CompanyCam progress updates during the job.
Prepare for the Project You Approved
Good home preparation does not mean turning the house into an empty shell. It means giving the crew access to the agreed surfaces without asking the homeowner to perform the painter’s work.
Clear personal property. Secure valuables and private information. Confirm how large furniture, pets, parking, and access will be handled. Report changes before they become arrival-day surprises. Then stop. More improvised prep is not automatically more useful prep.
AllBright has completed more than 2,100 residential and commercial projects across Nashville and Middle Tennessee since 2015. Our interior teams serve Franklin, Brentwood, Nashville, and surrounding communities with directly employed crews, documented progress, and a project manager responsible through closeout.
If you are still choosing the project scope, leave the home in its normal condition for the estimate so we can see the actual access and surface issues. Call 615-987-8011 or schedule a free interior painting estimate. After approval, we will turn the inspected scope into a preparation plan that identifies what to move, what can stay, and what AllBright will protect or prepare.